

The Weekend Gallery Wall Project: Planning, Spacing, and Hanging Without the Stress
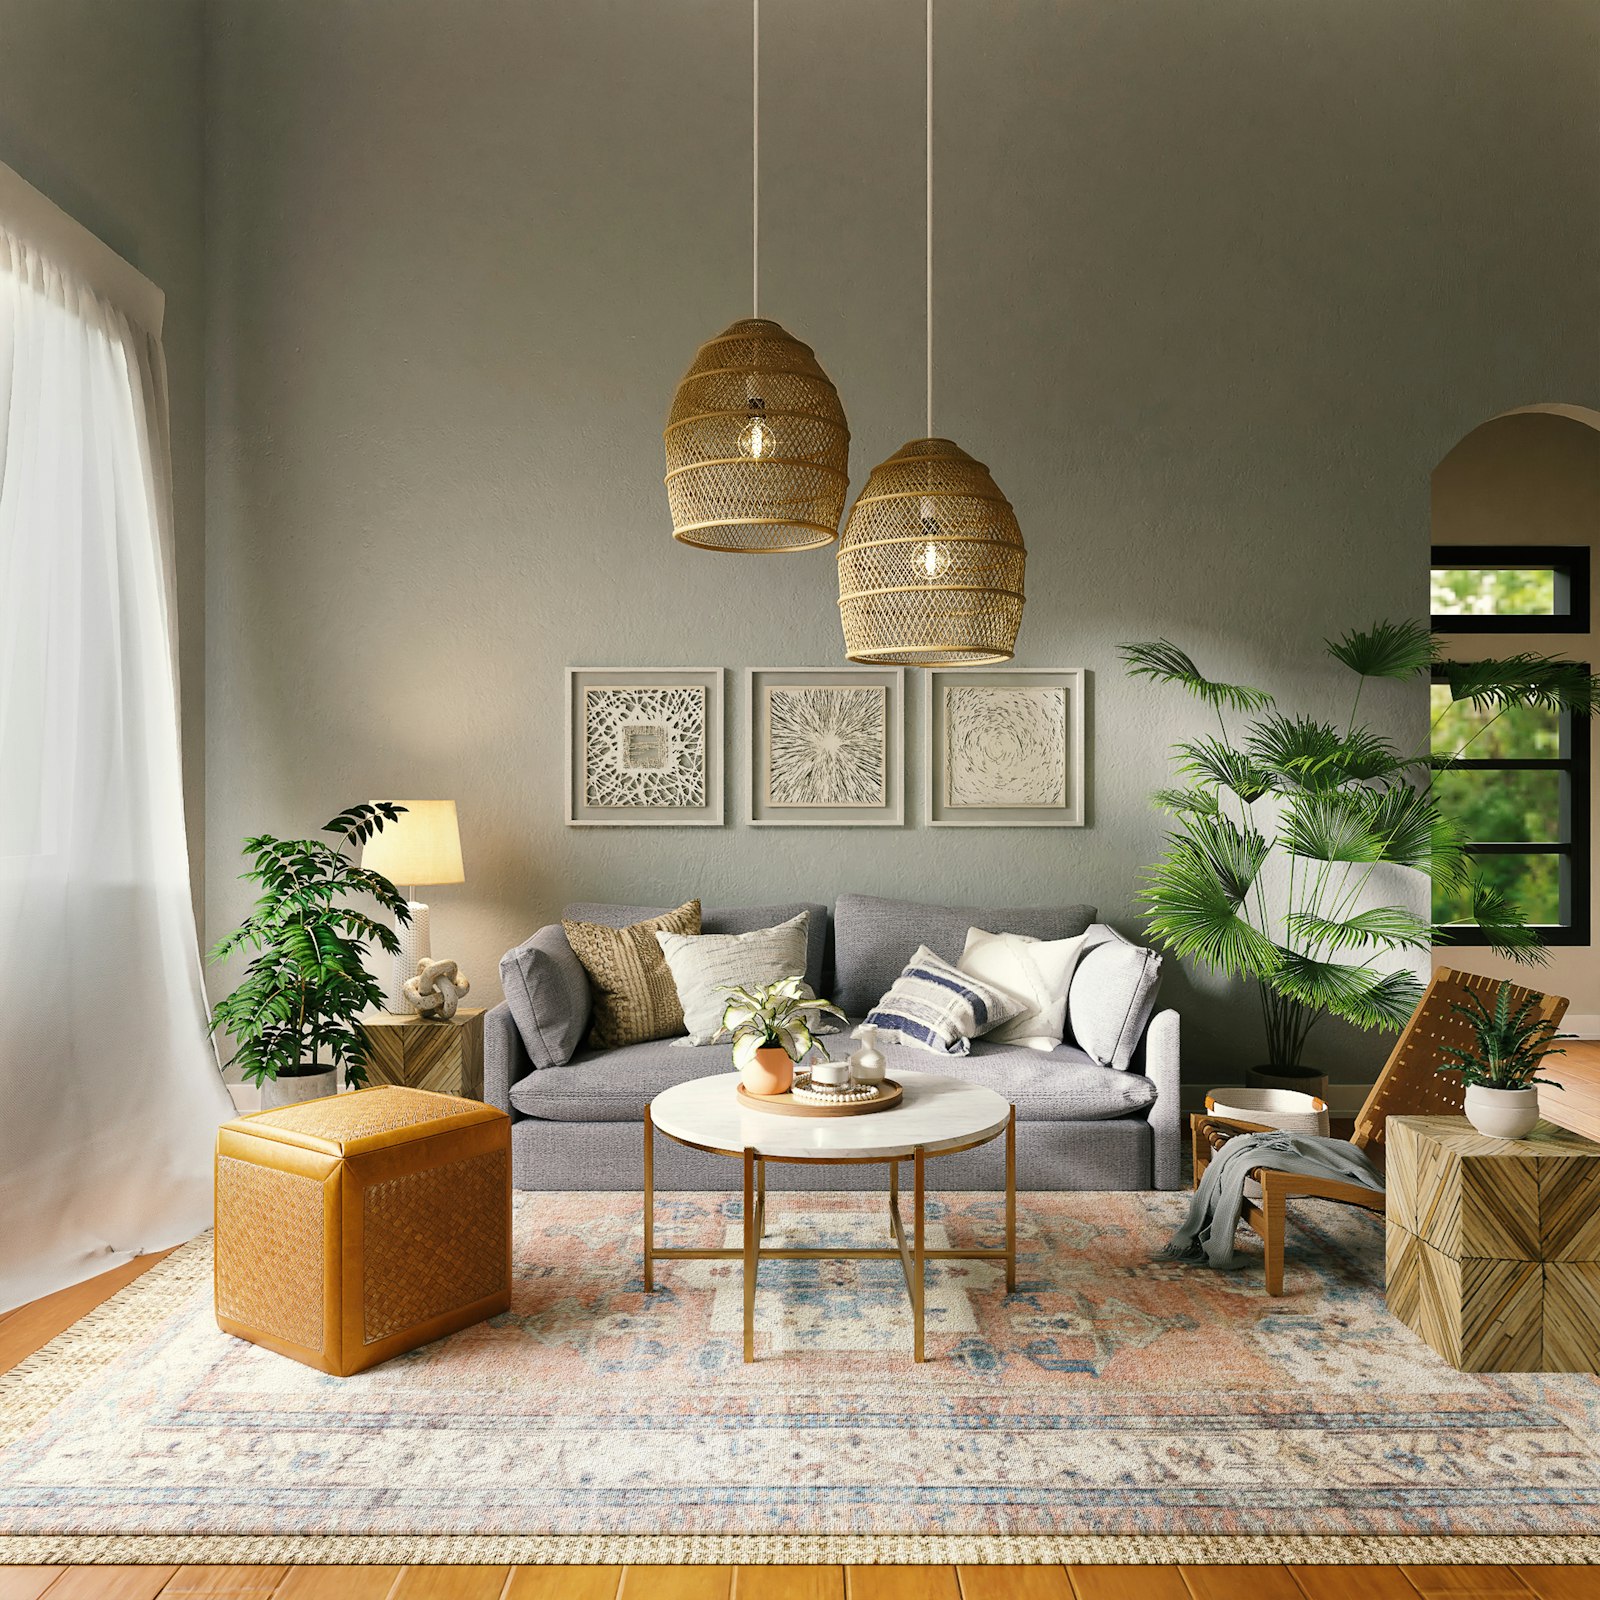
The gallery wall has become one of the most sought-after and most anxiety-inducing DIY home projects: sought-after because its effect on a blank wall is genuinely transformative, turning an empty surface into an expression of personality, interest, and aesthetic vision; anxiety-inducing because the decisions involved — which pieces to include, how to arrange them, how to measure and mark the wall, how to hang them without crooked outcomes and an array of unnecessary holes — feel irreversible in a way that other decorating decisions do not. The gallery wall weekend project, approached with the right method rather than the wrong impulse, is neither as difficult nor as risky as its reputation suggests. The key is doing the work on the floor before touching the wall.
The first principle of the gallery wall weekend project is that all decisions about composition should be made on the floor, where pieces can be rearranged freely and without consequence, rather than on the wall, where each change requires filling and repainting a hole. Laying out the planned collection of pieces on the floor directly beneath the wall on which they will hang allows the arrangement to be refined until it is genuinely satisfying before a single nail is driven. The floor layout stage should be treated as the creative work; the hanging stage that follows it is execution rather than design.
Day One: Curation and Floor Layout
The first day of the gallery wall weekend is devoted to curation — gathering the pieces that will be included, considering what if anything needs to be added or removed, and establishing the visual logic of the collection as a whole — followed by the floor layout process that translates that curation into a specific spatial arrangement. The curation process should begin with the question of coherence: what is the connecting thread between these pieces that will make them read as an intentional collection rather than a random assembly? The connecting thread might be a color palette, a frame material or finish, a subject or theme, a period or aesthetic — but it needs to be identifiable, because a gallery wall without an organizing principle tends to feel chaotic rather than curated.
The floor layout begins by establishing the outer boundary of the arrangement — the overall shape and dimensions of the grouping as it will appear on the wall — and then distributing the pieces within it according to visual weight, scale, and the rhythm created by their spacing. The most common floor layout mistakes are arranging pieces too uniformly (every piece at the same distance from its neighbors, creating the grid-like quality that looks mechanical rather than considered) and over-clustering large pieces in the center (the arrangement should have visual variety across its full extent, not just in the middle). The arrangement is ready for the wall when walking around it and viewing it from the distance at which it will be seen on the wall produces a feeling of satisfaction rather than adjustment.
Day Two: Measuring, Marking, and Hanging
The second day moves from floor to wall, beginning with the transfer of the floor arrangement's dimensions to the wall surface. The most reliable transfer method is to trace each frame on paper (craft paper or newspaper), cut out the tracings, mark the hanging point on each tracing, and use painter's tape to arrange the paper templates on the wall in the same configuration established on the floor. The templates allow final adjustments to the wall position of the arrangement as a whole — higher, lower, shifted left or right — before any nails are driven, and provide the nail position for each piece by marking through the template at the hanging point.
The hanging sequence that minimizes the risk of significant errors begins with the piece at the visual center of gravity of the arrangement — typically the largest or most prominent piece — and works outward from that anchor. Hanging the central piece first and building the arrangement around it produces more reliable alignment than starting from a corner and working across. A spirit level for each piece as it is hung, and a final check of the overall arrangement from the viewing distance once all pieces are in place, catches any individual misalignments before the painter's tape templates are removed and the project is complete. Explore our curated collection at Little-Chapter.com for frames, art prints, hanging hardware, and wall accessories that give your gallery wall the quality and variety it needs to succeed as the room's most personal design statement.